It’s time for another Unreal Engine tutorial! This time, we’ll be making a component to let the player interact with an actor, two different ways.
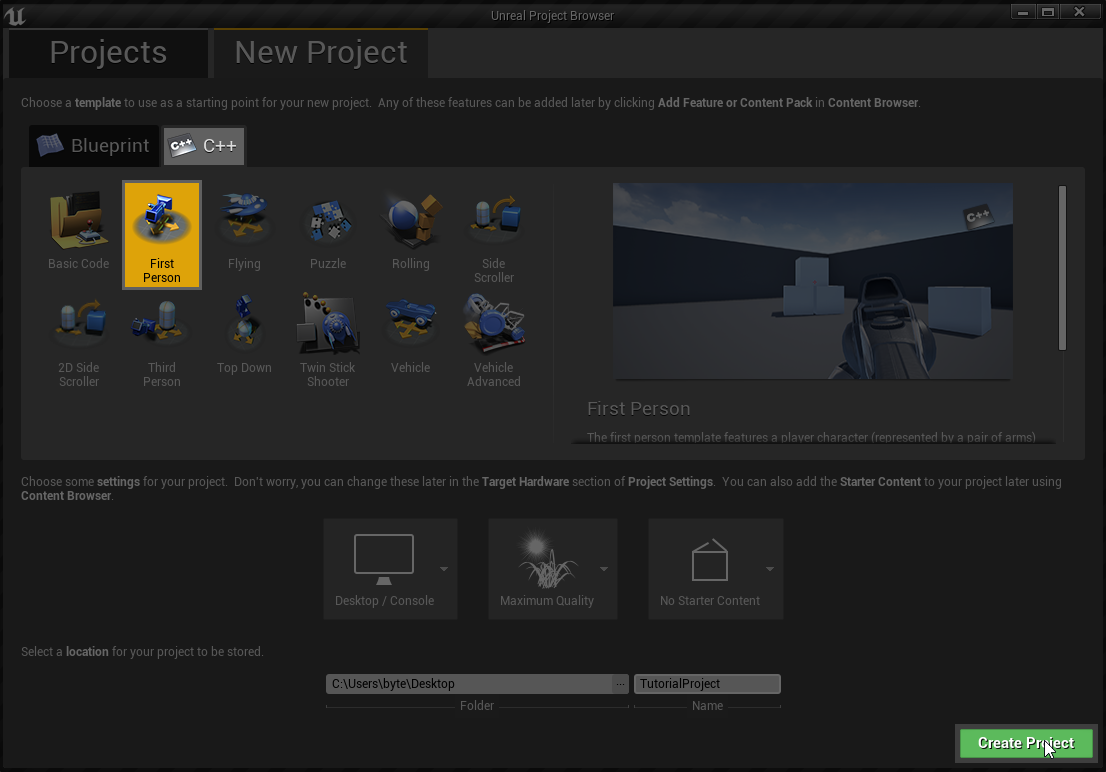
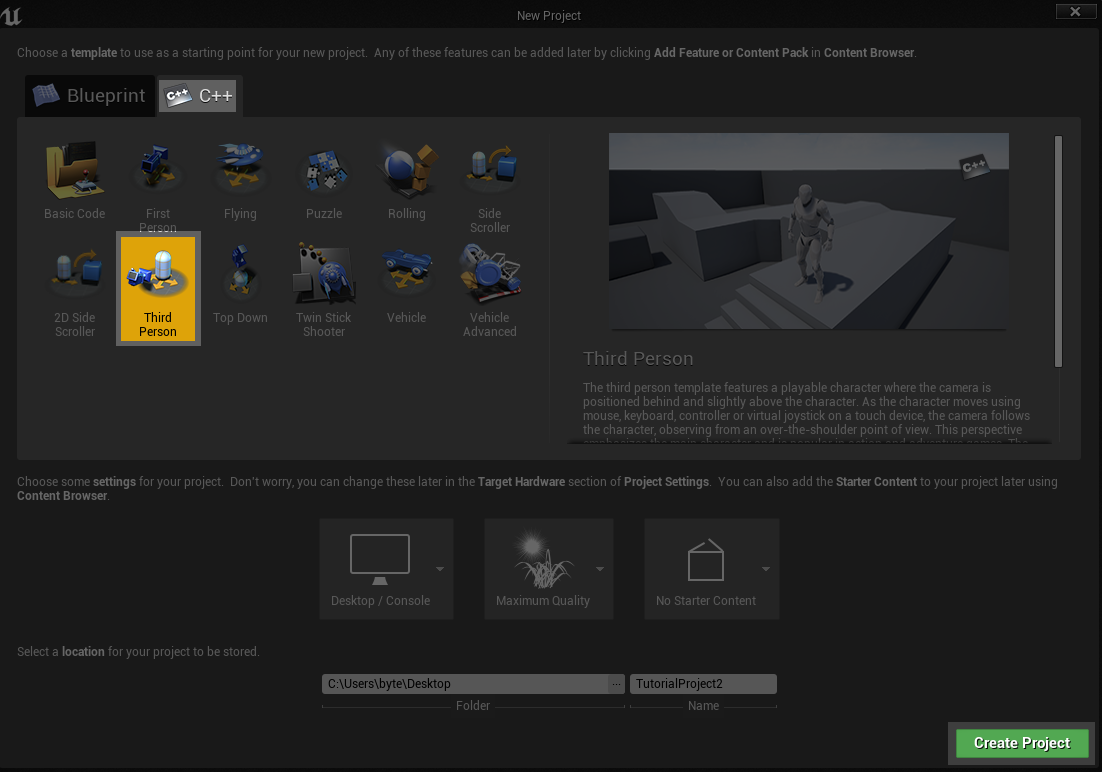
This approach does require a tiny bit of C++, so for this guide I’ll make a new first-person C++ project.
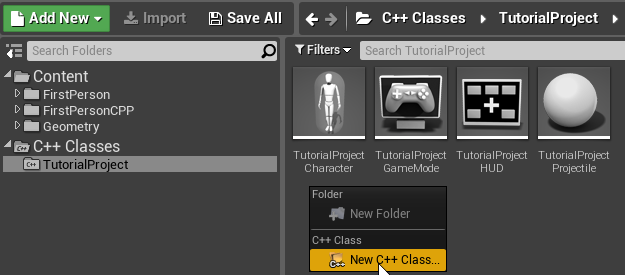
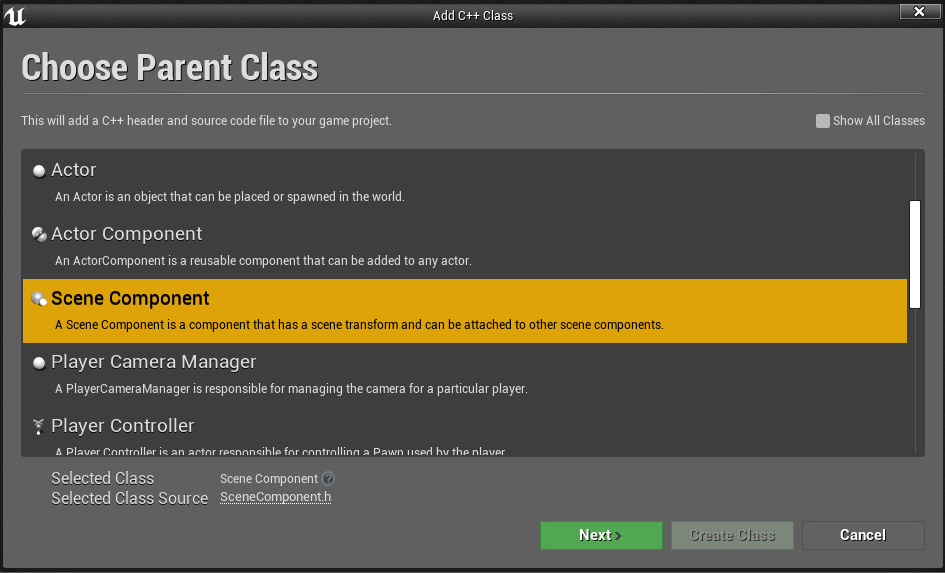
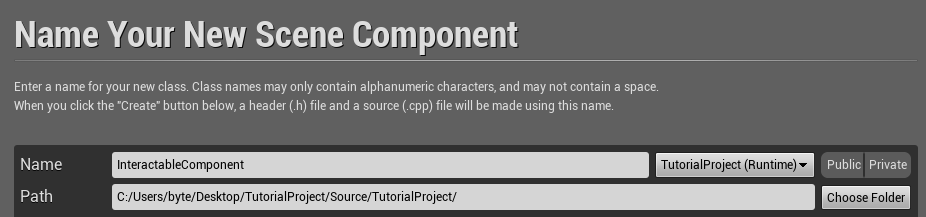
Then once you’ve got your project opened up, under C++ classes in the content browser, right-click and create a new class. Derive it from SceneComponent and call it “InteractableComponent”.
The default code generated for this class has several things we don’t need, so remove just about everything from the class until we’re left with this in the header:
#pragma once #include "CoreMinimal.h" #include "Components/SceneComponent.h" #include "InteractableComponent.generated.h" UCLASS(ClassGroup=(Custom), meta=(BlueprintSpawnableComponent)) class TUTORIALPROJECT_API UInteractableComponent : public USceneComponent { GENERATED_BODY() public: };And the source file should be completely empty except for the include:
#include "InteractableComponent.h"Now, we’re gonna add something called a “delegate”. Add this line outside the class definition, between the includes and the class:
DECLARE_DYNAMIC_MULTICAST_DELEGATE_OneParam(FInteractableDelegate, UObject*, Context);A “delegate” is basically a template for a function with a given signature. The qualifiers “dynamic” and “multicast” are a bit outside the scope of this tutorial, but you don’t need to understand them for this. If you want to read about them on your own, look at this article in the docs.
DECLARE_DYNAMIC_MULTICAST_DELEGATE_OneParam is a macro that defines the kind of delegate we need. FInteractableDelegate is the name of the new delegate, UObject* is the type of the one parameter, which is named Context.
UE4 has several macros for defining delegates that are named as follows: DECLARE_< DYNAMIC_ >< MULTICAST_ >DELEGATE< _signature >. For example, DECLARE_DELEGATE_RetVal declares a regular delegate with a return value, DECLARE_DYNAMIC_DELEGATE_TwoParams declares a dynamic delegate that takes two parameters. In this case, the delegate we’re declaring a dynamic multicast delegate that takes one parameter and returns nothing, so we use DECLARE_DYNAMIC_MULTICAST_DELEGATE_OneParam.
Now that we’ve declared the delegate type, we’ll add one of these delegates to our class. Add these lines under public:
UPROPERTY(BlueprintAssignable) FInteractableDelegate OnInteract;This adds an instance of our new delegate type to the class, called OnInteract. UPROPERTY(BlueprintAssignable) is a macro that makes the property visible and usable in blueprints. On a delegate, this means it will show up as an event in blueprints.
We’ve got one more thing to add to the header: a function to trigger the interactable. Add these lines just below:
UFUNCTION(BlueprintCallable) void Trigger(UObject* Context);This declares a function in our component called Trigger. We’ll call this later to actually do the interacting. It takes one parameter, an optional object to use however you like in the event handler. UFUNCTION(BlueprintCallable) makes the function callable from blueprints.
Now, we have one last thing to do: defining the function. In the source file, define the function:
void UInteractableComponent::Trigger(UObject* Context) { this->OnInteract.Broadcast(Context); }All this function does is call Broadcast on the delegate, which calls any event handlers that are bound to the delegate. It passes the context object through as well.
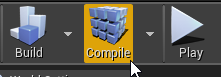
That’s it for the coding, return to the editor and compile your code.
Final source code
InteractableComponent.h
#pragma once #include "CoreMinimal.h" #include "Components/SceneComponent.h" #include "InteractableComponent.generated.h" DECLARE_DYNAMIC_MULTICAST_DELEGATE_OneParam(FInteractableDelegate, UObject*, Context); UCLASS(ClassGroup=(Custom), meta=(BlueprintSpawnableComponent)) class TUTORIALPROJECT_API UInteractableComponent : public USceneComponent { GENERATED_BODY() public: UPROPERTY(BlueprintAssignable) FInteractableDelegate OnInteract; UFUNCTION(BlueprintCallable) void Trigger(UObject* Context); };InteractableComponent.cpp
#include "InteractableComponent.h" void UInteractableComponent::Trigger(UObject* Context) { this->OnInteract.Broadcast(Context); }If you just copy and paste this code into your project, make sure you change TUTORIALPROJECT_API to match your project’s name, otherwise the compiler will throw a fit.
Using the component
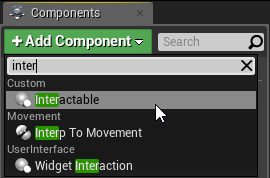
At this point, you should have a new component in the content browser:
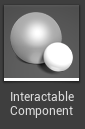
If the code compiled successfully but the component doesn’t show up, something went wrong with hot reload and you’ll need to restart the editor.
Let’s make a blueprint to demonstrate how this component works. Make a new actor blueprint.
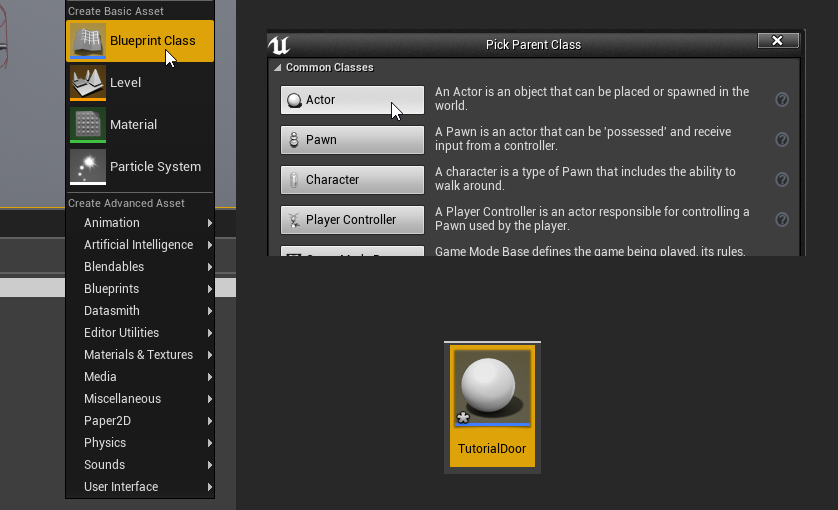
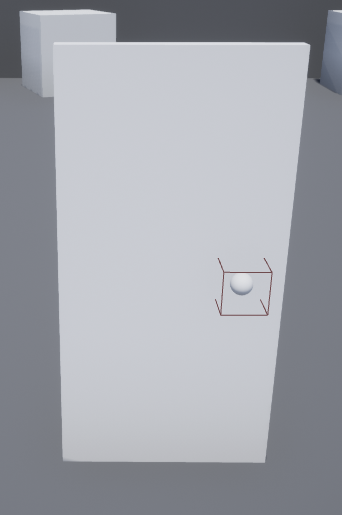
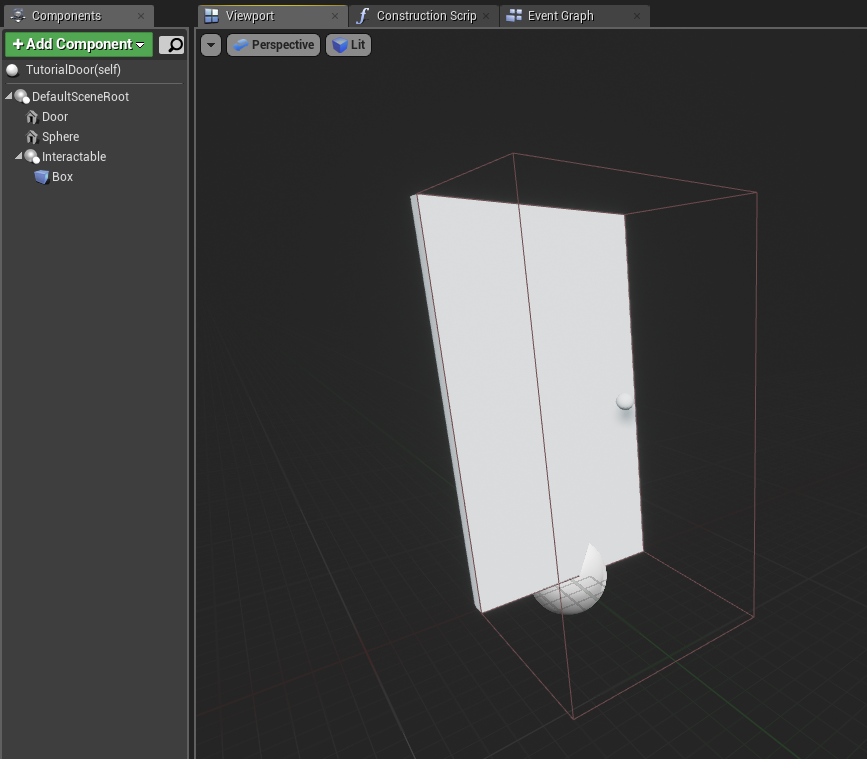
Open up the blueprint. I’ll be making a door for this example, but you can make whatever you like.
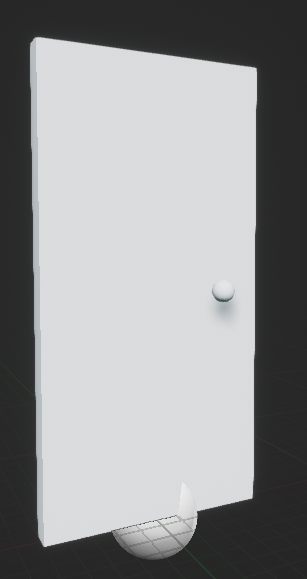
Now that my Very Good door is made, it’s time to make it interactable. Our new component should now show up in the components menu. Add one to the blueprint.
The component is a scene component, which means it has a position, but the position of the component itself doesn’t matter. However, since it’s a scene component, we can add child components to it. Add a box collision component as a child of the interactable.
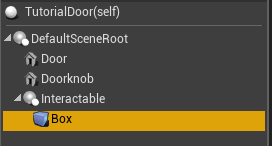
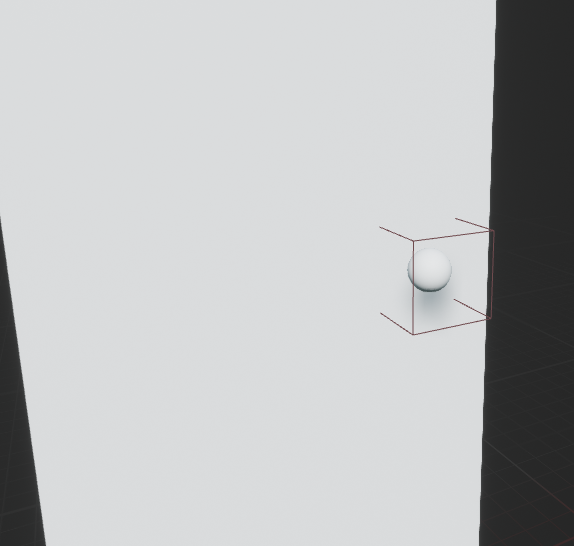
Now, the position of this collider does matter. It will define the area we can interact with. Position it so it encloses the part you want to be interactable.
Now, with the interactable component selected, you should see a list of events in the details panel.
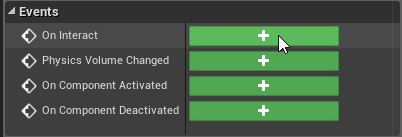
That OnInteract event is the delegate we set up in C++. Click the + button to bind a handler to this event. There should now be a new event node in the event graph.
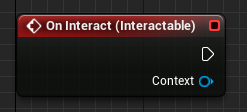
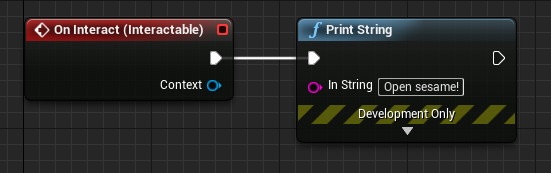
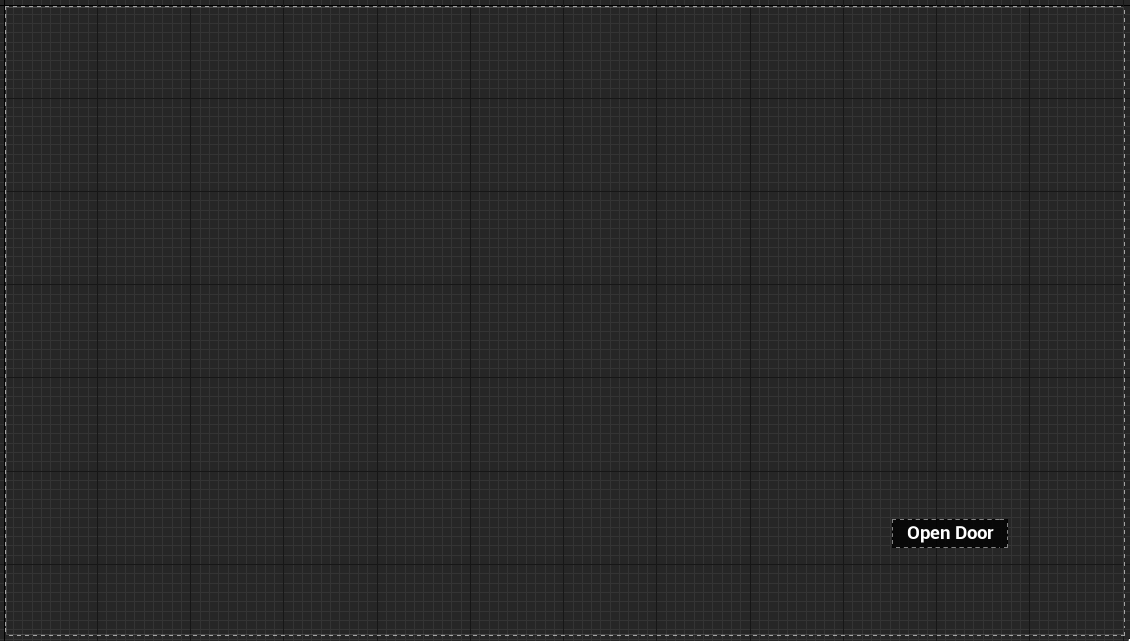
As you can see, our optional context object is available here for us to use in the interact event handler. In a real game you’d open the door here, or do whatever you need to for interaction, but for now I’ll just put a placeholder there.
That’s it for the interactable actor. Compile, save, and return to the main editor window.
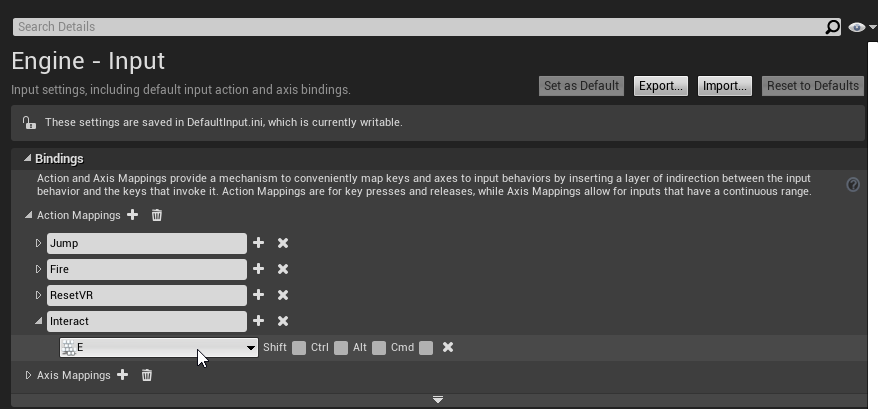
I’ve add an instance of the door blueprint to the level, but it can’t actually be interacted with yet. First, we’ll need to do some setup in the player blueprint. But before that, we need to add an input binding for interacting. Open the project settings (Edit > Project Settings) and choose the Input page from the list on the left. Add a new action binding called Interact and assign a key to it.
Now open the Content/FirstPersonCPP/Blueprints/FirstPersonCharacter blueprint.
Since there isn’t any custom functionality in this blueprint by default, the editor considers it a “data-only blueprint” and shows a condensed view of the blueprint’s fields. Click the link at the top to open the full blueprint editor.

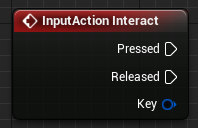
Add an InputAction Interact node. This will be called every time we press the interact button.
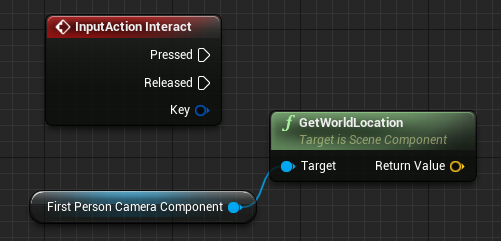
Get the location of the camera. This is where the trace will start.
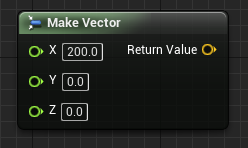
Now we’ll need to add to this position to get the end point for the trace. For this example I’ll use 200 units. Make a vector with that many units in the X axis.
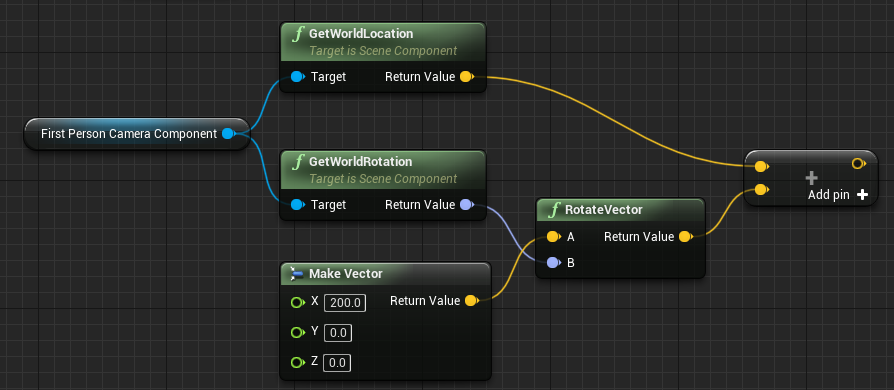
But, this is the X axis in world space! In order to get 200 units in front of the camera, we’ll need to rotate the vector by the camera’s rotation:

Then, add that rotated vector to the camera position to get the end point for the trace.
Now, add a LineTraceForObjects node. This is what will perform the actual trace.
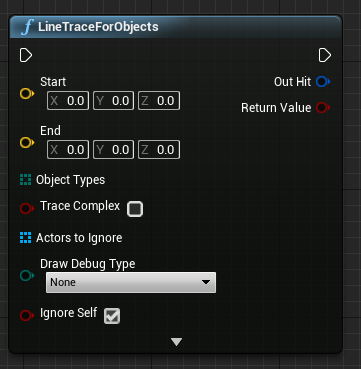
If you don’t know what this means, basically it follows a line from the start point to the end point, and returns the first thing it hits (if anything). Connect the start and end point nodes to the points we calculated:

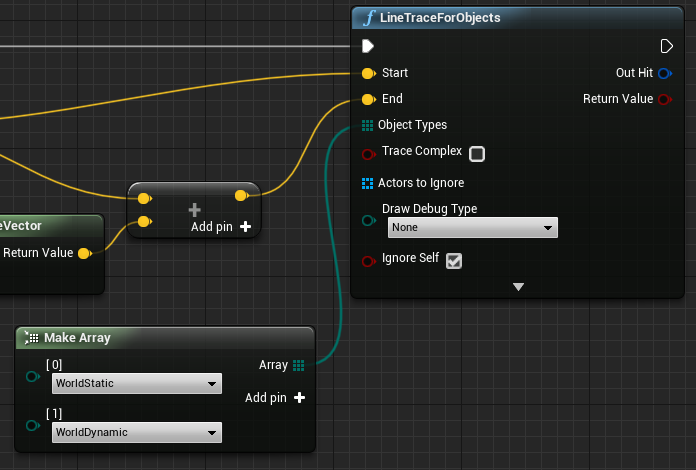
Now drag a line out from the Object Types node and add a Make Array node. This dictates what kinds of objects the trace will test for. Add WorldStatic and WorldDynamic.
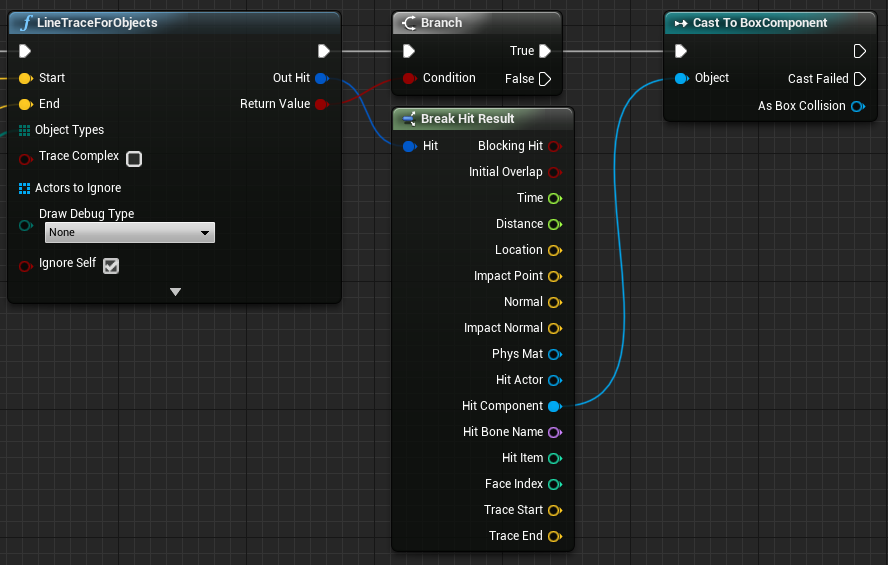
That’s all the inputs we need hooked up, now let’s look at the outputs of the node. First, we’ll check the Return Value node to see if we actually hit something. If this is false, the trace never hit anything, so we can stop there.

I’ve also broken out the Hit object. This struct will contain data about the hit, if there was one. We’re interested in the Hit Component value, which contains the particular component the trace hit. In this case, we’re looking for the box component we added to the door earlier. Try to cast the component to a BoxComponent:
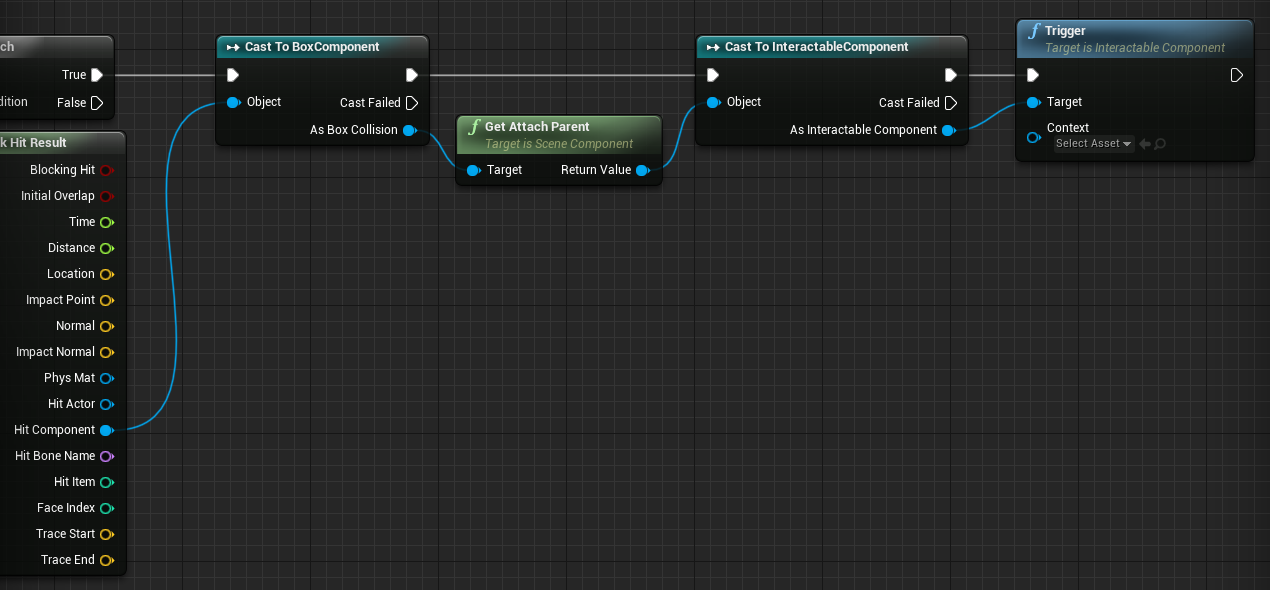
If it is a box collider, we’ll want to check to see if the parent is an InteractableComponent. Get the Attach Parent and try casting it. If it is an interactable, trigger it by calling the Trigger function we created earlier.
Phew! Finally everything is set up. Here’s where you could add a context object if you want, but you don’t need to give it anything. At this point, you can compile and save the player blueprint.
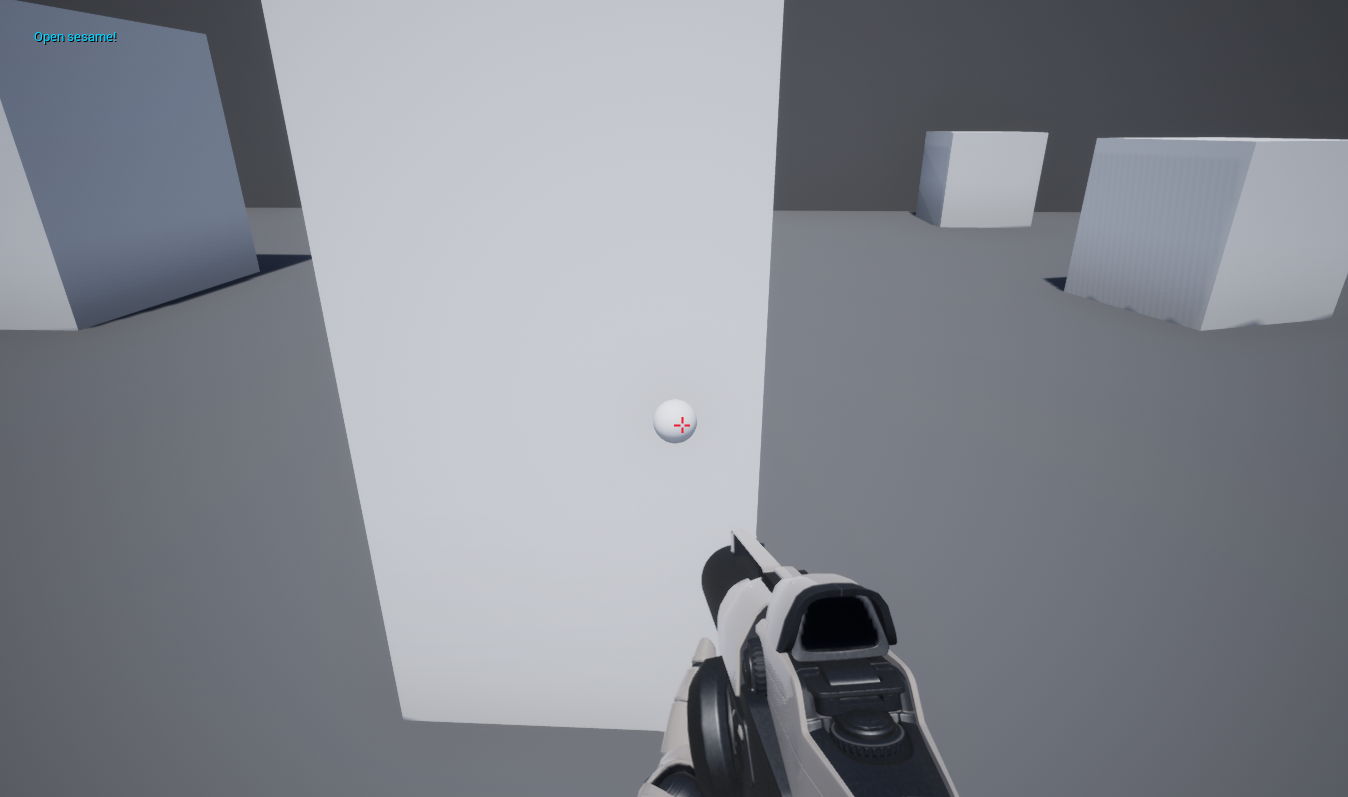
Run the level, point to your interactable, and press E. It should call the event handler you set up earlier.
Why use this setup?
Using a component for interactions as opposed to a parent class or interface, has a couple advantages. Unlike an InteractableActor class that interactables must inherit, interactable components can be dropped in anywhere with no changes to class structure. An interface could be dropped into any class, but with an interface you can only have one interactable per blueprint. If you want two interactables, or two hitboxes for the same interactable, you’ll need to use two separate blueprints. And speaking of, specifying the bounds for interacting is a lot harder with an interface, compared to just adding colliders to the scene.
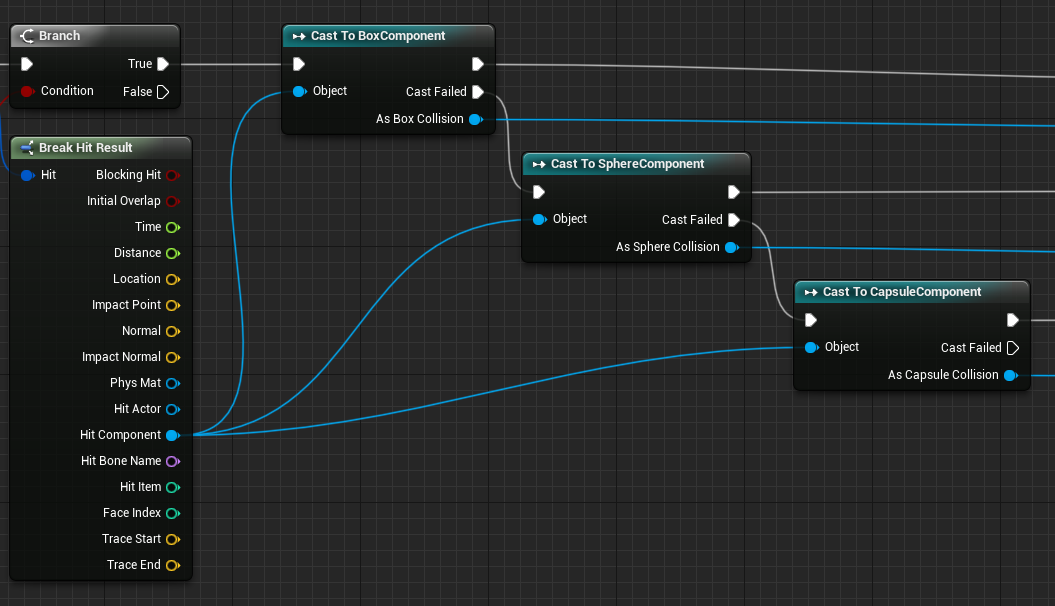
What about other collider types?
Currently, this setup only works with box colliders, but it’s quite easy to add support for all three types. For some reason, there doesn’t seem to be a parent class for collider components, so you’ll have to check all three separately, like so:
What about third person?
This mouse-over technique doesn’t work quite as well in third-person. So we’ll use the same component but set up the colliders and player controller differently.
Make a new project, still C++ but using the Third Person template this time.
Add the same InteractableComponent class we wrote earlier. This time, I’ll make a simple overlay to appear when you’re able to interact. This isn’t a UMG tutorial, so I’ll skip the details here.
Make the interactable blueprint again, but this time make the box collider cover cover a large area in front of the object instead.
Hook up the interact event again too:
Set up an input binding again:
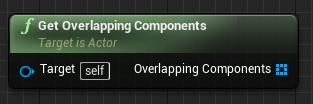
Now, go open the player character blueprint (Content/ThirdPersonCPP/Blueprints/ThirdPersonCharacter). Instead of doing a line trace, this time we’ll be checking if the player itself is overlapping the hitbox for an interactable. For this, we’ll use the Get Overlapping Components node, which does exactly what it says.
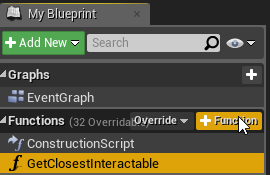
To keep things tidy, let’s put things in a function. In the “My Blueprint” panel, click the plus button to add a function, and call it GetClosestInteractable.
Why do we call it “get closest”? Because it’s possible that we could be overlapping the hitboxes for multiple interactables. In that case, we’ll want the closest one to get priority.
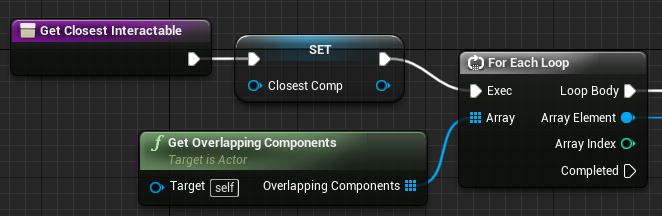
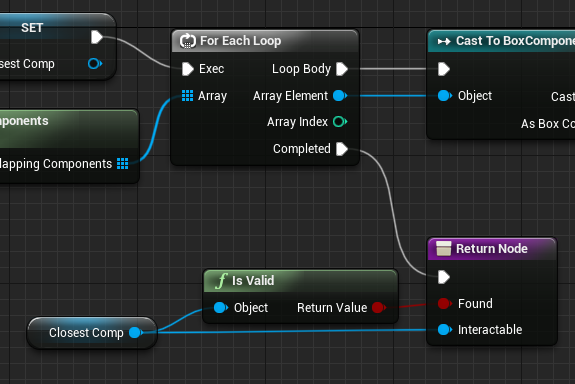
Inside the function. create a For Each loop to iterate through the components we’re overlapping.
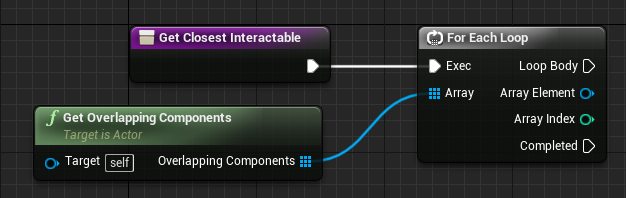
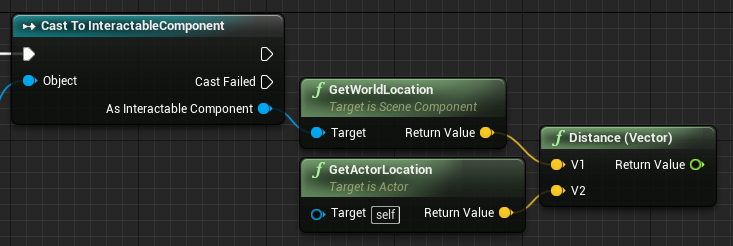
We’ll do the same casting routine from the first-person example, for each element in the array.

However, this time we need to keep track of which one is closest. For that we’ll use two variables: ClosestDist for the closest distance found, and ClosestComp for the closest component itself. We’ll make them local variables since we won’t use them outside of this function.
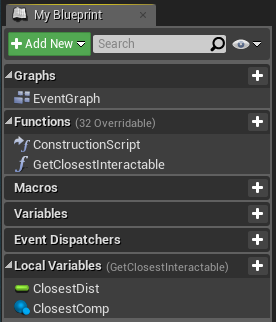
ClosestDist should be a float, and ClosestComp should be an InteractableComponent. Make sure to clear ClosestComp at the beginning of the function, since it’s possible we won’t find any interactables, and we don’t want to use a leftover value if there’s nothing to loop through.
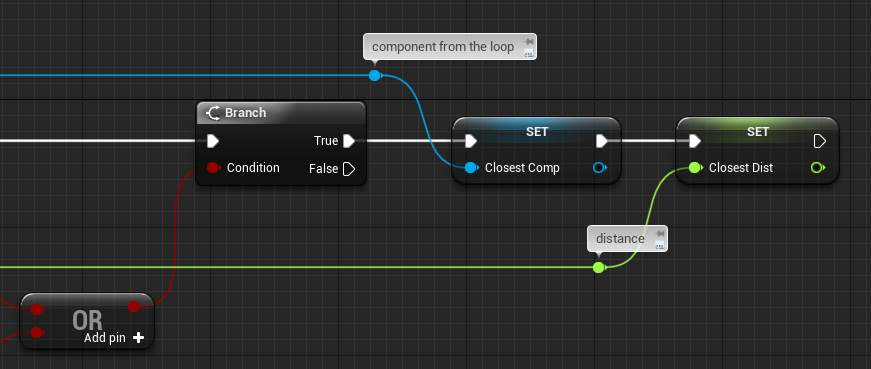
Back inside the loop, after we’ve determined that we are overlapping an interactable’s hitbox, find the distance to the interactable like so:
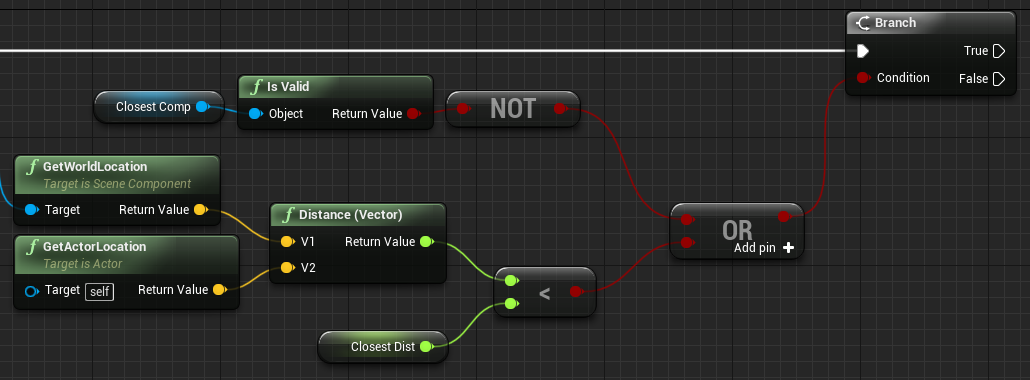
Now we’ll check to see if either A) we haven’t found any interactables yet, or B) if we have found any, if this one is closer. If either of those conditions are true, we’ll save this one as the closest, as well as keep track of its distance.
Now, back to the loop node, when the loop is finished, we’ll have this function return what it found (or nothing), as well as a bool for whether or not it found anything. Add a new return node, and with the node selected, add two outputs in the details panel.
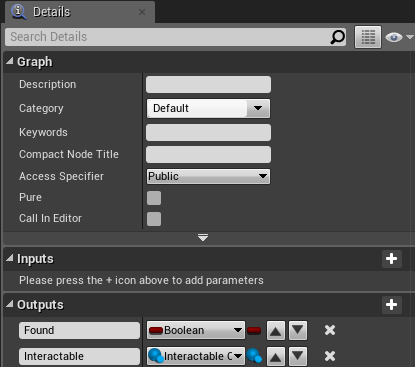
Found is a bool, which indicates whether or not we found any interactables. Interactable is either a reference to that interactable, or nothing if we didn’t find one. Hook up the return node like this:
Back in the event graph, add an input event node for the interact button again, and have it call our new function.

Now we’ll simply check if any interactables were found, and trigger the closest one if so.

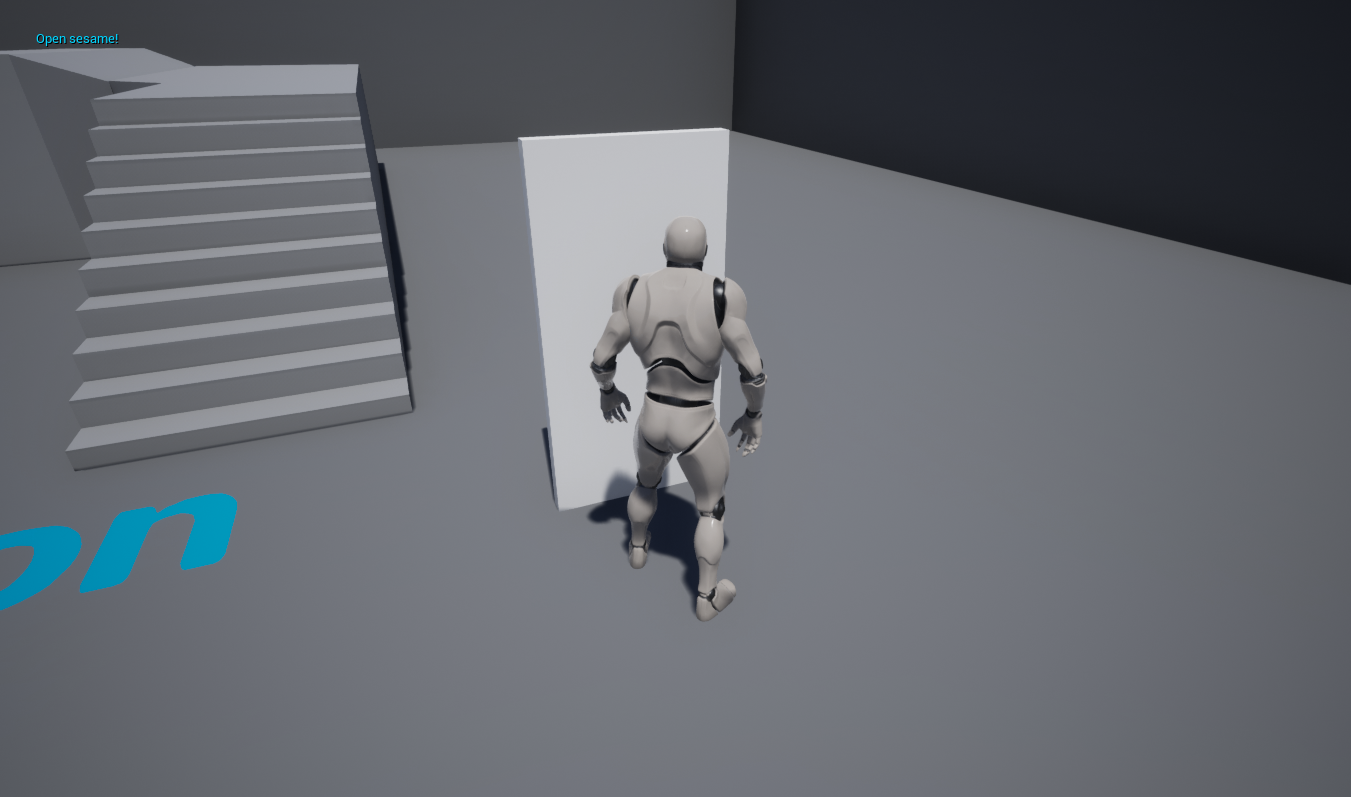
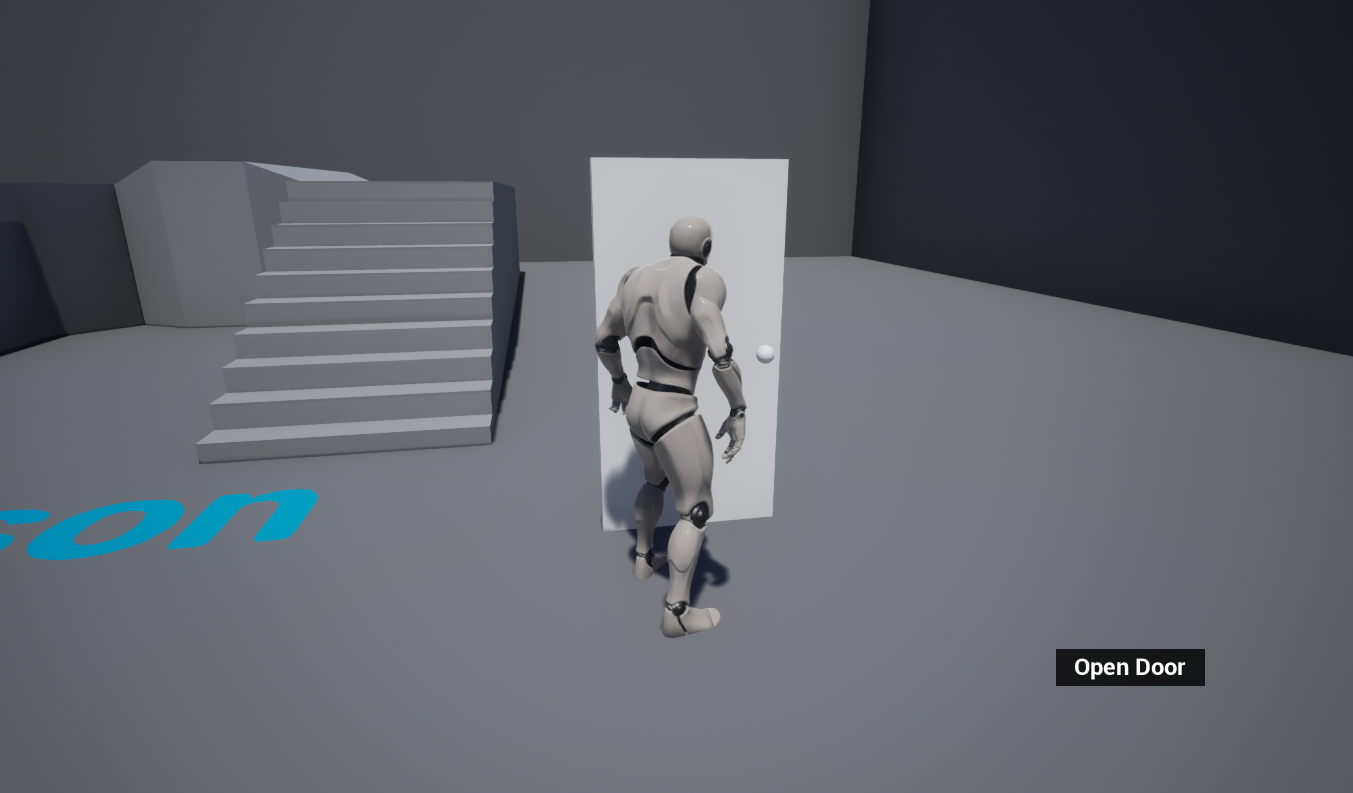
Now if you compile, save, and run the game, you should be able to interact with objects when you’re standing in their hitbox!
But it’s not a great gameplay experience to just press E everywhere and hope something’s interactable. Remember that overlay widget I made earlier? I’ll use that to indicate when it’s possible to interact with something.

Here I create the widget on BeginPlay, add it to the viewport, store it in a variable, and then hide it. Then, each tick, I call the function we wrote earlier, and depending on whether or not we’re overlapping any interactables, I either show or hide the widget.
Voilà!
Phew! That’s easily the longest guide I’ve written to date. I hope it’s helpful! If you have any questions, feel free to contact me (hello@trashbyte.io, cybre.space, twitter) and I’ll try to answer them! And if you enjoyed this guide, please consider throwing a few dollars my way (Patreon, Ko-fi). Your support means a lot to me. ♥
See you next time!